


.jpg)


(1866).jpg)
(2914).jpg)


(2).jpg)


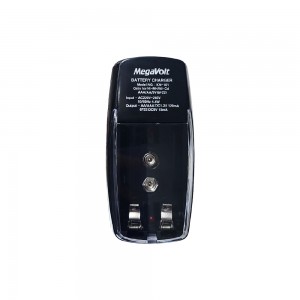
* 본 이미지는 참고용입니다.제품의 정확한 사양은 데이터시트를 참고 바랍니다.
- 공유하기
-


개발보드/프로그래머
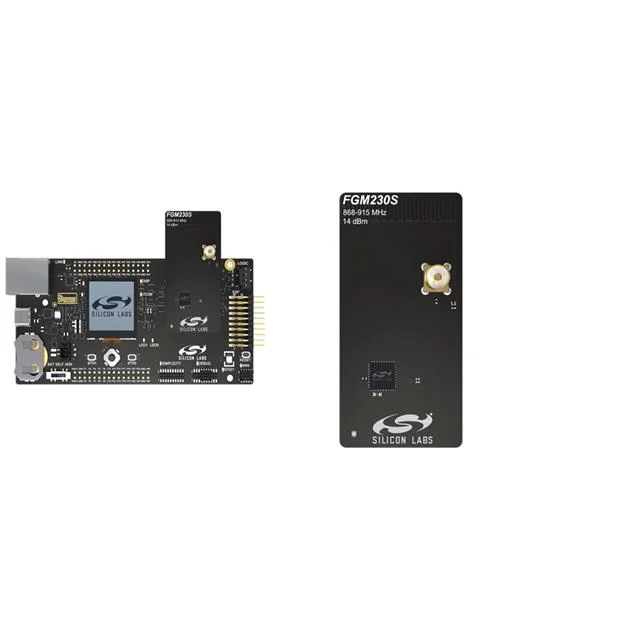
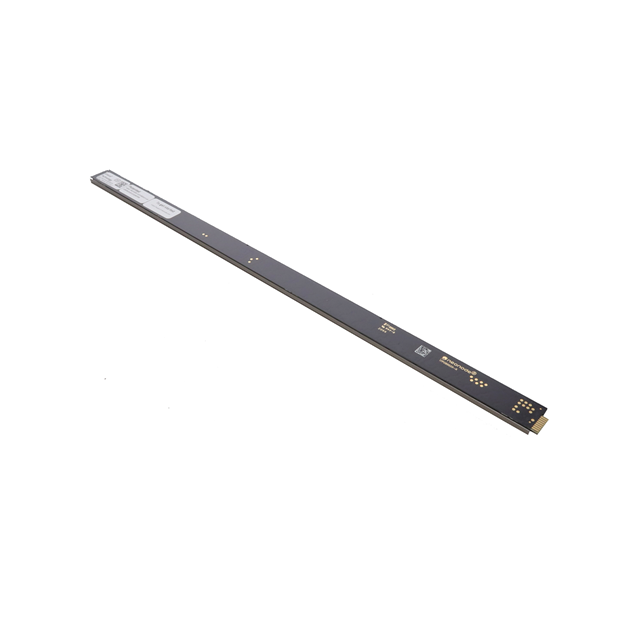
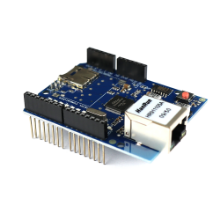
아두이노 이더넷 Ethernet W5100 micro SD소켓 쉴드
호환보드
13,000원
(VAT 별도)-
제품번호
EN00000975
-
브랜드명
에듀이노
-
제조사
OEM
-
M.O.Q
1
-
평균발송일
약 3일
- 포장단위
-
판매단위
1
-
배송비
3,000 (60,000원 이상 무료배송)
호환보드
수량
총 주문 금액
13,000원
(VAT 포함) 14,300원
상품상세정보


1 2 3 4 5 6 7 8 9 10 11 12 13 14 15 16 17 18 19 20 21 22 23 24 25 26 27 28 29 30 31 32 33 34 35 36 37 38 39 40 41 42 43 44 45 46 47 48 49 50 51 52 53 54 55 56 57 58 59 60 61 62 63 64 65 66 67 68 69 70 71 72 73 74 75 76 77 78 79 80 | #include <SPI.h> #include <Ethernet.h> // Enter a MAC address for your controller below. // Newer Ethernet shields have a MAC address printed on a sticker on the shield byte mac[] = { 0x74,0x69,0x69,0x2D,0x30,0x5}; // Initialize the Ethernet client library // with the IP address and port of the server // that you want to connect to (port 80 is default for HTTP): EthernetClient client; void setup() { // Open serial communications and wait for port to open: Serial.begin(9600); // this check is only needed on the Leonardo: while (!Serial) { ; // wait for serial port to connect. Needed for native USB port only } // start the Ethernet connection: if (Ethernet.begin(mac) == 0) { Serial.println("Failed to configure Ethernet using DHCP"); // no point in carrying on, so do nothing forevermore: for (;;) ; } // print your local IP address: printIPAddress(); } void loop() { switch (Ethernet.maintain()) { case 1: //renewed fail Serial.println("Error: renewed fail"); break; case 2: //renewed success Serial.println("Renewed success"); //print your local IP address: printIPAddress(); break; case 3: //rebind fail Serial.println("Error: rebind fail"); break; case 4: //rebind success Serial.println("Rebind success"); //print your local IP address: printIPAddress(); break; default: //nothing happened break; } } void printIPAddress() { Serial.print("My IP address: "); for (byte thisByte = 0; thisByte < 4; thisByte++) { // print the value of each byte of the IP address: Serial.print(Ethernet.localIP()[thisByte], DEC); Serial.print("."); } Serial.println(); } | cs |


1 2 3 4 5 6 7 8 9 10 11 12 13 14 15 16 17 18 19 20 21 22 23 24 25 26 27 28 29 30 31 32 33 34 35 36 37 38 39 40 41 42 43 44 45 46 47 48 49 50 51 52 53 54 55 56 57 58 59 60 61 62 63 64 65 66 67 68 69 70 71 72 73 74 75 76 77 78 79 80 81 82 83 84 85 86 87 88 89 90 91 92 93 94 95 96 97 98 99 100 101 102 103 104 105 106 | #include <DHT.h> #define DHTPIN A2 #define DHTTYPE DHT11 DHT dht(DHTPIN, DHTTYPE); #include <Wire.h> #include <SPI.h> #include <Ethernet.h> byte mac[] = { 0x74, 0x69, 0x69, 0x2D, 0x30, 0x5}; IPAddress ip(DHCP IP주소 찾기 예제 검색 후 아이피주소 입력); // IP 주소는 " XXX,XXX,XXX,XXX " ',' 주의해주세요. // 이더넷 라이브러리 초기화 // 사용할 IP 주소 와 포트 입력 // ('port 80' 은 HTTP 의 기본 값 입니다.): EthernetServer server(80); void client(); void setup() { // Open serial communications and wait for port to open: Serial.begin(9600); while (!Serial) { ; // 포트 연결까지 기다리기. 레오나르도에만 필요합니다. } // 이더넷 서버 연결 시작: Ethernet.begin(mac, ip); server.begin(); Serial.print("server is at "); Serial.println(Ethernet.localIP()); } void loop() { EthernetClient client = server.available(); if (client) { Serial.println("new client"); // an http request ends with a blank line boolean currentLineIsBlank = true; while (client.connected()) { if (client.available()) { char c = client.read(); Serial.write(c); // if you've gotten to the end of the line (received a newline // character) and the line is blank, the http request has ended, // so you can send a re |
등록된 사용후기
사용후기가 없습니다.
등록된 상품문의
상품문의가 없습니다.